In the dynamic world of cryptocurrency, you’ll often find yourself wanting to move your digital assets from one blockchain to another. Perhaps you want to take advantage of a new decentralized application (dApp) on a different network, or maybe you’re looking for better transaction fees. This is where ‘bridging’ comes in. Think of it as a secure transfer service for your crypto, allowing it to travel across different blockchain ecosystems.
What is a Blockchain Bridge?
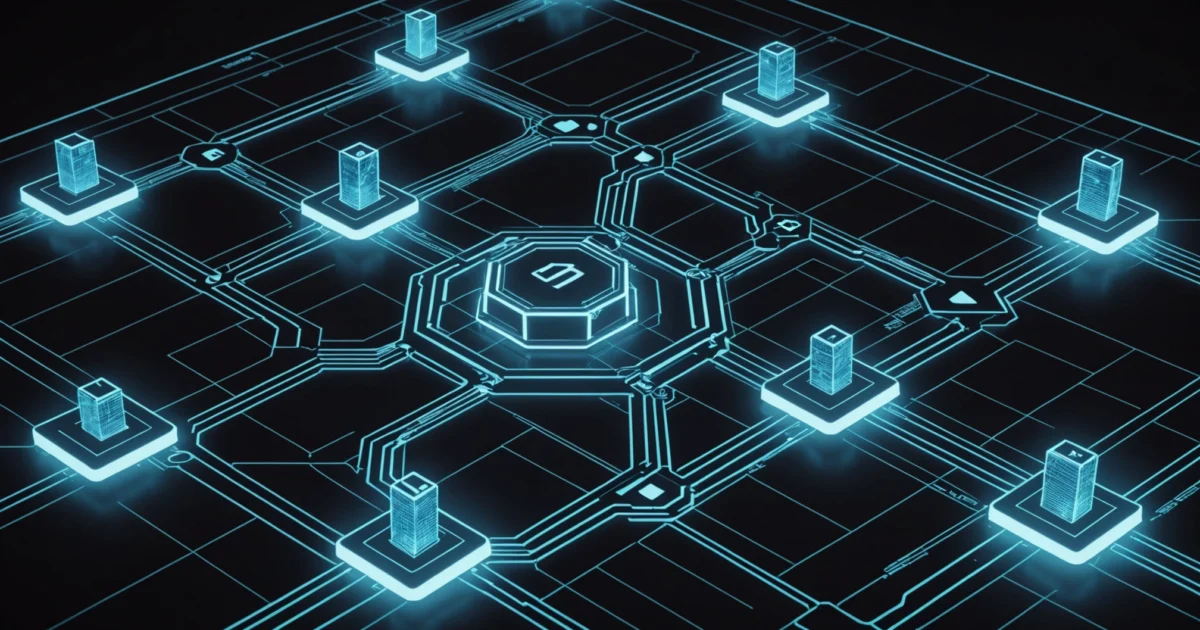
A blockchain bridge is a connection that allows you to transfer tokens or arbitrary data from one blockchain to another. Blockchains are typically isolated systems, meaning they can’t natively communicate with each other. Bridges act as a secure intermediary, enabling interoperability between these distinct networks. They are crucial for the growth and usability of the entire crypto space, allowing for a more connected and flexible experience.
Why Would You Want to Bridge Assets?
There are several compelling reasons why a beginner might need to bridge their crypto assets:
- Accessing dApps on Other Networks: Many exciting new dApps, especially in Decentralized Finance (DeFi), launch on various blockchains. You might need to bridge assets to participate.
- Lower Transaction Fees: Some blockchains, like Ethereum, can experience high gas fees during peak times. Bridging to a network with lower fees can save you money on transactions.
- Faster Transaction Speeds: Similar to fees, transaction speeds can vary significantly between blockchains. Bridging can allow you to leverage a faster network for quick trades or interactions.
- Exploring Different Ecosystems: The crypto world is vast. Bridging allows you to explore and utilize the unique features and offerings of various blockchain ecosystems.
How Does Bridging Work?
While the technical details can be complex, the general process for users is fairly straightforward. Most bridges operate on a lock-and-mint or burn-and-release mechanism:
- Locking Assets: You send your tokens to a specific smart contract on the source blockchain. These tokens are then locked within that contract.
- Minting New Tokens: Simultaneously, an equivalent amount of the same token is minted (created) on the destination blockchain and sent to your wallet. This ‘new’ token is essentially a representation of your locked assets.
- Releasing Assets (Reverse Process): When you want to move your assets back, you send the minted tokens on the destination chain to the bridge’s smart contract. These tokens are then burned (destroyed), and your original tokens are unlocked and sent back to your wallet on the source chain.
It’s important to note that you are not moving the *exact same* tokens across blockchains. Instead, you are locking them on one and receiving a mirrored, redeemable version on another. Understanding this mechanism can help prevent confusion.
How to Bridge Your Crypto Assets: A Step-by-Step Guide
Here’s a simplified breakdown of how you can bridge your assets. We’ll use a hypothetical example of bridging from Ethereum to Polygon.
Step 1: Choose Your Bridge
Several bridges exist, each with its own security, supported chains, and fees. Some popular options include:
- Multichain (formerly Anyswap)
- Synapse Protocol
- Celer cBridge
- Polygon PoS Bridge (for bridging to/from Polygon specifically)
For this guide, let’s assume we’re using a generic bridge interface that supports multiple chains. Always research the bridge you plan to use, checking its reputation, security audits, and supported assets. For a more in-depth look at security, check out our guide on Crypto Security: Your First Steps to Safe Crypto Habits.
Step 2: Prepare Your Wallets
You’ll need two wallets: one for your source chain (e.g., MetaMask connected to Ethereum Mainnet) and one for your destination chain (e.g., MetaMask connected to Polygon). Ensure you have enough of the native token on the source chain to cover transaction fees (e.g., ETH for Ethereum). You might also need some of the native token on the destination chain for future transactions there (e.g., MATIC for Polygon).
Step 3: Connect Your Wallet to the Bridge
Navigate to the chosen bridge’s website. You will see an option to connect your wallet. Select your wallet provider (e.g., MetaMask) and authorize the connection. Make sure your wallet is set to the correct network (e.g., Ethereum Mainnet) before connecting.
Step 4: Select Your Assets and Networks
On the bridge interface, you’ll typically find dropdown menus or input fields to select:
- From Network: The blockchain you are currently on (e.g., Ethereum).
- To Network: The blockchain you want to send assets to (e.g., Polygon).
- Asset: The specific token you wish to bridge (e.g., USDC, WETH).
- Amount: The quantity of the asset you want to bridge.
Step 5: Approve and Bridge
Once you’ve entered the details, the bridge will show you an estimated amount you’ll receive, along with any bridge fees. You’ll likely need to perform two transactions:
- Approve: First, you’ll need to approve the bridge’s smart contract to spend your tokens. This is a standard transaction on most dApps.
- Bridge: After approval, you’ll initiate the main bridging transaction. This will send your tokens to the bridge’s smart contract on the source chain.
Confirm both transactions in your wallet. The bridge will then process your request. The time this takes can vary depending on network congestion on both chains.
Step 6: Receive Your Assets
Once the bridge transaction is complete, your assets will appear in your wallet connected to the destination network. You may need to switch your wallet to the destination network (e.g., Polygon) to see them. If the token doesn’t appear automatically, you might need to manually add its contract address to your wallet.
Important Considerations and Risks
While bridging is a powerful tool, it’s not without risks:
- Smart Contract Vulnerabilities: Bridges rely on smart contracts, which can be targets for hackers. If a bridge’s contract is exploited, users can lose their locked funds. Always use reputable and audited bridges.
- Bridge Fees: Bridging involves transaction fees on both the source and destination chains, as well as potential fees charged by the bridge itself.
- Impermanent Loss (for Liquidity Providers): If you’re bridging assets that you intend to use in DeFi liquidity pools on the destination chain, be aware of impermanent loss. For more on this, see our Liquidity Pools Explained: Your DeFi Earning Powerhouse guide.
- Slippage: The price of assets can change between the time you initiate the bridge and when it’s completed, especially for large transactions.
- Centralization Risks: Some bridges have more centralized components, meaning a single point of failure or control could exist.
Conclusion
Blockchain bridging is an essential technology for a multi-chain crypto future. By understanding the process and exercising caution, you can confidently move your assets between different networks, unlocking a world of possibilities in DeFi and beyond. Always prioritize security, do your own research, and start with small amounts when experimenting with new bridges.